
നെറ്റ്വർക്ക് തിരഞ്ഞെടുപ്പ്
USDT, USDC ക്രോസ്-ചെയിൻ ട്രാൻസ്ഫർ സമ്പൂർണ്ണ ഗൈഡ്: നെറ്റ്വർക്ക്, ഫീസ്, വിലാസം, TXID
USDT, USDC അയയ്ക്കുമ്പോൾ ശരിയായ chain തിരഞ്ഞെടുക്കൽ മുതൽ contract, fee, address, test transfer, TXID troubleshooting, wrong-network recovery വരെ ഉൾക്കൊള്ളുന്ന സമഗ്ര മലയാളം ഗൈഡ്.
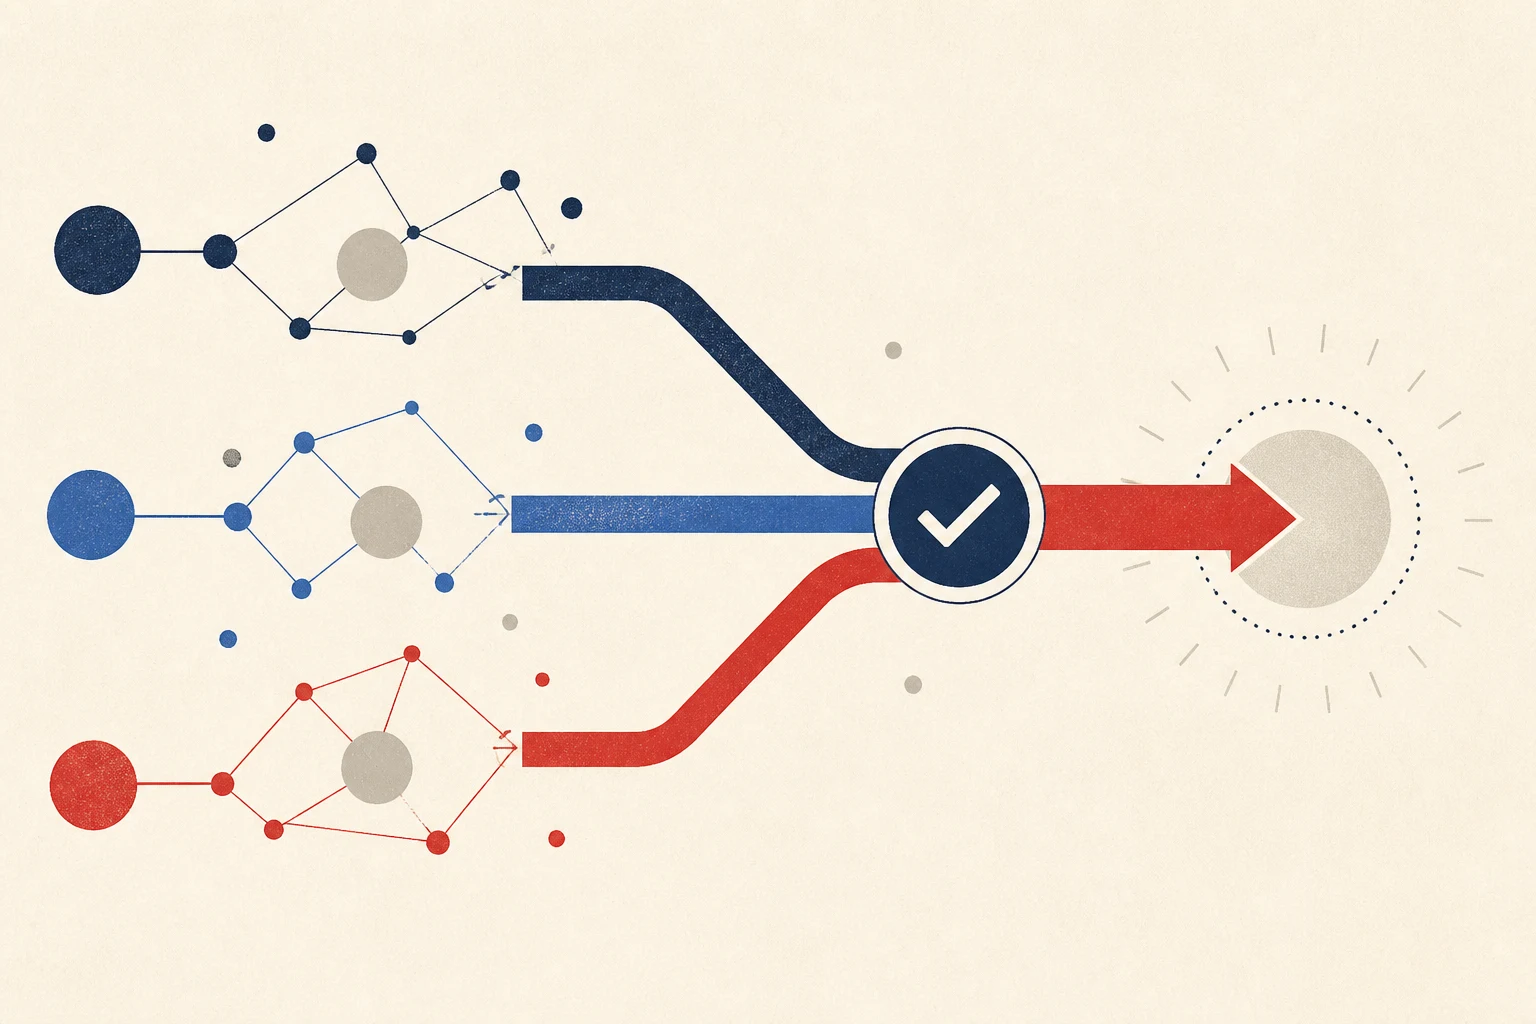
ഒരു നിയമത്തിൽ നിന്ന് തുടങ്ങാം: സ്വീകരിക്കുന്ന ഭാഗമാണ് ഉപയോഗിക്കാവുന്ന chain തീരുമാനിക്കുന്നത്
USDT അല്ലെങ്കിൽ USDC എന്ന പേര് ഒരേ ആയതിനാൽ എല്ലാ network-ുകളും പരസ്പരം മാറ്റി ഉപയോഗിക്കാമെന്ന് കരുതുന്നത് stablecoin transfer-ിലെ ഏറ്റവും അപകടകരമായ തെറ്റാണ്. USDT Ethereum, TRON, Solana തുടങ്ങിയ വേറിട്ട blockchain-ുകളിൽ ഉണ്ടാകാം. USDC-യ്ക്ക് native version-ുകളും bridged USDC, USDC.e പോലുള്ള variant-ുകളും ഉണ്ട്. Wallet ഒരേ logo കാണിച്ചാലും ഓരോ chain-നും വേറെ ledger, token contract, gas asset, transaction history എന്നിവയാണ്.
അതുകൊണ്ട് sending exchange-ൽ ഏറ്റവും കുറഞ്ഞ fee കാണുന്ന option ആദ്യം തിരഞ്ഞെടുക്കരുത്. Receiving wallet അല്ലെങ്കിൽ exchange-ന്റെ പുതിയ Deposit page തുറക്കുക. അവിടെ കാണുന്ന asset version, network, address, Memo/Tag എന്നിവയാണ് ആ transfer-ന്റെ specification.
പ്രധാന നിയമം: Receiving side-ലുള്ള asset, full network name, address, Memo/Tag എന്നിവ sending confirmation page-ൽ കൃത്യമായി match ചെയ്യണം. ഒരു field പോലും അനുമാനമാണെങ്കിൽ transaction നിർത്തുക.
ഈ guide network selection, contract verification, total cost, address safety, test transfer, TXID troubleshooting, wrong-network recovery എന്നിവ ഒരൊറ്റ പ്രവാഹത്തിൽ വിശദീകരിക്കുന്നു.
1. Asset, network, contract, address — നാല് കാര്യങ്ങൾ വേർതിരിക്കുക
Asset
USDT, USDC എന്നിവ asset പേരുകളാണ്. Asset തിരഞ്ഞെടുത്ത ശേഷം exchange ERC20, TRC20, BEP20, Solana തുടങ്ങിയ network option-ുകൾ കാണിച്ചേക്കാം.
Network
Ethereum, TRON, BNB Smart Chain, Base, Arbitrum, Solana എന്നിവയ്ക്ക് സ്വന്തം blocks, transaction records, fee model എന്നിവയുണ്ട്. ERC20, TRC20, BEP20 labels ഒരേ വഴി അല്ല.
Token contract
Token contract നിങ്ങൾ ഏത് token version ആണ് അയയ്ക്കുന്നത് എന്ന് തിരിച്ചറിയുന്നു. Receiving address ആരാണ് asset സ്വീകരിക്കുന്നത് എന്ന് പറയുന്നു. രണ്ടും 0x ആയി കാണാമെങ്കിലും അവ പരസ്പരം മാറ്റി ഉപയോഗിക്കാൻ പാടില്ല.
Address, Memo/Tag
Address chain-ലെ destination ആണ്. Custodial platform shared address ഉപയോഗിക്കുമ്പോൾ Memo, Tag, Destination Tag എന്നിവ account തിരിച്ചറിയാൻ ആവശ്യമായേക്കാം. Required ആണെങ്കിൽ Tag address പോലെ തന്നെ പ്രധാനമാണ്.
2. 1,000 USDT ഉദാഹരണം ഉപയോഗിച്ച് ശരിയായ വഴി തിരഞ്ഞെടുക്കാം
Exchange A-യിൽ നിന്ന് Exchange B-യിലേക്ക് 1,000 USDT അയയ്ക്കുന്നു എന്ന് കരുതുക. ആദ്യം B തുറക്കുക:
- Official app അല്ലെങ്കിൽ official website ഉപയോഗിക്കുക.
- USDT Deposit page തുറക്കുക.
- B ഇപ്പോൾ support ചെയ്യുന്ന network-ുകൾ രേഖപ്പെടുത്തുക.
- ഒരു network തിരഞ്ഞെടുക്കുമ്പോൾ ലഭിക്കുന്ന address പുതുതായി copy ചെയ്യുക.
- Memo/Tag, minimum deposit, confirmation count, maintenance warning പരിശോധിക്കുക.
ഇനി A-യിലേക്ക് മടങ്ങുക. B support ചെയ്യുന്ന network-ുകളിൽ നിന്ന് മാത്രം തിരഞ്ഞെടുക്കുക. A-യിൽ BNB Smart Chain fee കുറവാണെങ്കിലും B ആ network കാണിക്കുന്നില്ലെങ്കിൽ അത് option അല്ല. Address paste ചെയ്യാൻ കഴിയുന്നത് receiver support-ന്റെ തെളിവല്ല.
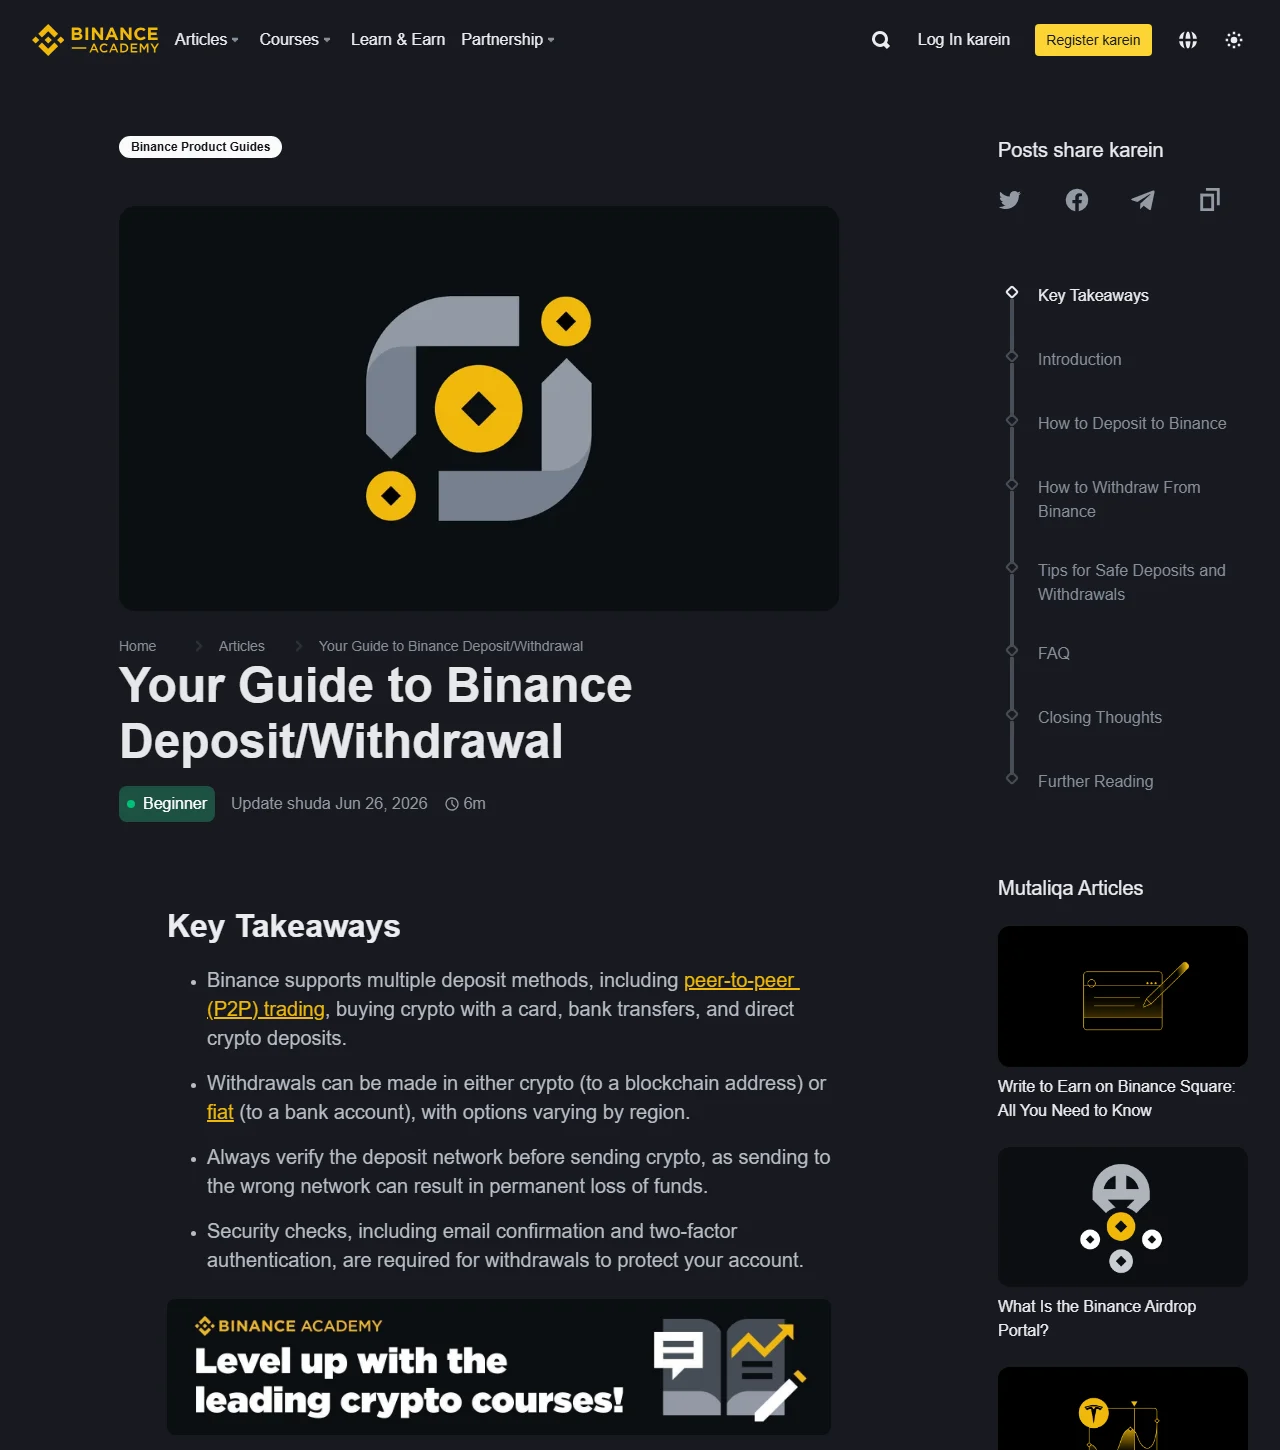
വസ്തുത പരിശോധിച്ച ചിത്രം: Binance Academy Deposit/Withdrawal Guide. Sending network receiving network-ുമായി match ചെയ്യണം എന്ന് guide വ്യക്തമാക്കുന്നു. 2026-08-02-ന് പരിശോധിച്ചു.
3. Ethereum, TRON, BNB Smart Chain: എന്താണ് യഥാർത്ഥ വ്യത്യാസം?
| പരിശോധന | Ethereum | TRON | BNB Smart Chain |
|---|---|---|---|
| സാധാരണ token label | ERC20 | TRC20 | BEP20 |
| Native gas asset | ETH | TRX/resources | BNB |
| Address സൂചന | സാധാരണ 0x | സാധാരണ T | സാധാരണ 0x |
| Explorer | Etherscan | TRONSCAN | BscScan |
| പ്രധാന അപകടം | Gas മാറാം | Resource/fee മാറാം | 0x match support തെളിയിക്കില്ല |
Ethereum-ലും BNB Smart Chain-ലും ഒരേ 0x address കാണാം. കാരണം EVM-compatible chain-ുകൾ സമാന account derivation ഉപയോഗിക്കുന്നു. പക്ഷേ balances, contracts, TXID എന്നിവ വേറെയാണ്. BSC വഴി അയച്ച USDT BscScan-ൽ Success ആയി കാണാം; Ethereum-only deposit address ഉപയോഗിച്ച exchange അതിനെ automatic ആയി credit ചെയ്യണമെന്നില്ല.
Receiver asset പിന്നീട് എവിടെ ഉപയോഗിക്കും എന്നും നോക്കണം. Ethereum DeFi ഉപയോഗമാണ് ലക്ഷ്യമെങ്കിൽ TRON വഴി കുറഞ്ഞ fee-യിൽ എത്തിച്ച ശേഷം bridge ചെയ്യേണ്ടിവരാം. ആ രണ്ടാം ചെലവും riskഉം total cost-ൽ ഉൾപ്പെടുത്തണം.
4. Withdrawal fee മാത്രം നോക്കരുത്
Exchange fixed അല്ലെങ്കിൽ dynamic withdrawal fee ഉപയോഗിക്കാം. Self-custody wallet-ൽ chain resource ആണ് പ്രധാന ചെലവ്. Ethereum gas used × (base fee + priority fee) എന്ന രീതിയിൽ കണക്കാക്കുന്നു; network demand അനുസരിച്ച് മാറാം.
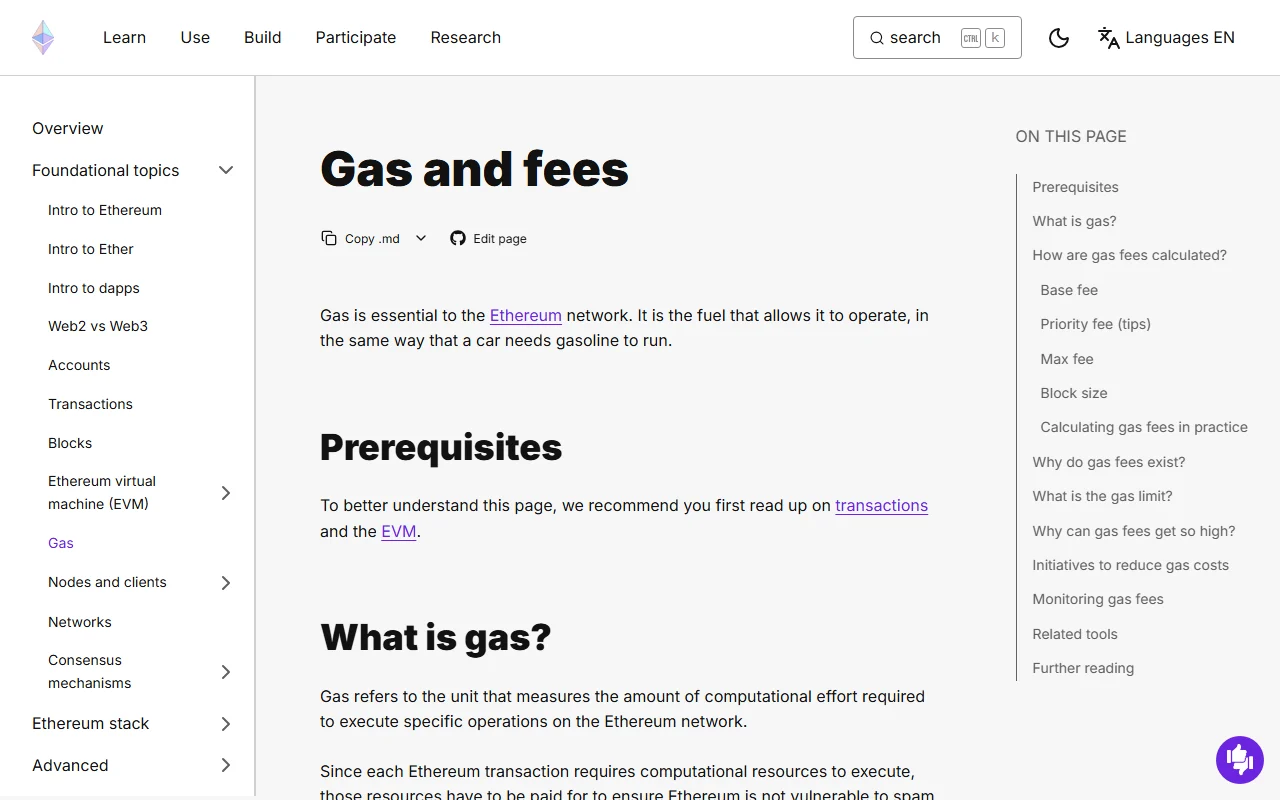
വസ്തുത പരിശോധിച്ച ചിത്രം: Ethereum.org Gas and Fees. 2026-08-02-ന് പരിശോധിച്ചു.
രണ്ട് formula ഓർമ്മിക്കുക:
- Receiver gets = withdrawal amount − amount-ൽ നിന്ന് കുറയ്ക്കുന്ന fee
- Total completion cost = withdrawal fee + ആവശ്യമായ gas + നിർബന്ധമായ conversion/bridge cost
ഉദാഹരണം:
- Route A: 1,000 USDT request, fee 8, receiver 992.
- Route B: fee 1, പക്ഷേ receiver support ഇല്ല; പിന്നീട് bridge ചെയ്യാൻ 12 equivalent cost.
Fee column മാത്രം നോക്കിയാൽ B കുറഞ്ഞതാണ്. ലക്ഷ്യം പൂർത്തിയാക്കുന്ന ചെലവും wrong-network riskഉം ചേർത്താൽ A യുക്തിസഹമായേക്കാം.
TRON-ൽ Bandwidth, Energy, TRX എന്നിവ transaction cost-നെ ബാധിക്കാം. “TRC20 എല്ലായ്പ്പോഴും സൗജന്യം” എന്ന പൊതുവായ വാചകം വിശ്വസിക്കരുത്.
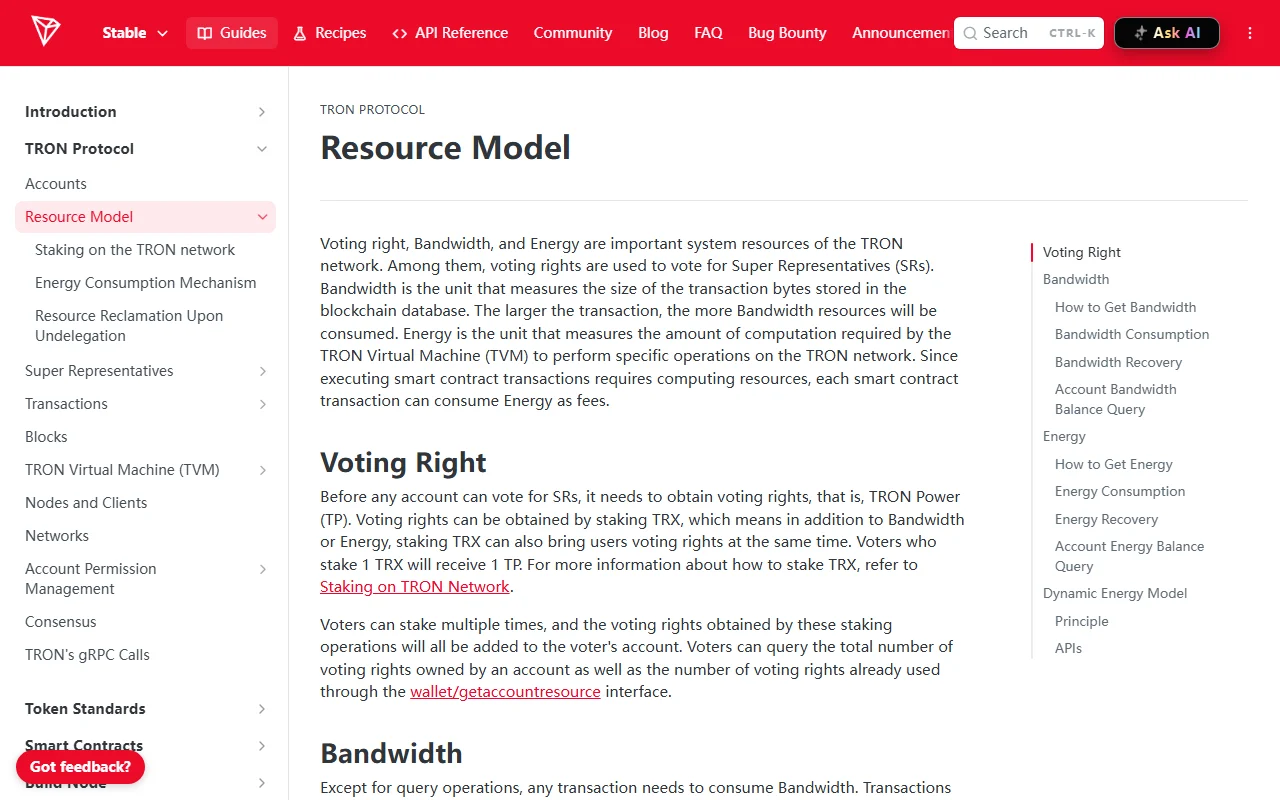
വസ്തുത പരിശോധിച്ച ചിത്രം: TRON Resource Model. 2026-08-02-ന് പരിശോധിച്ചു.
5. Native USDC, Bridged USDC, USDC.e
Native USDC Circle ആ network-ൽ issue ചെയ്ത version ആണ്. Bridged USDC മറ്റൊരു chain-ൽ asset lock ചെയ്ത് destination chain-ൽ സൃഷ്ടിച്ച representation ആയിരിക്കാം. USDC.e ചില network-ുകളിൽ bridge version സൂചിപ്പിക്കാൻ ഉപയോഗിച്ച പേരാണ്. Price, symbol, logo സമാനമായാലും contract address, issuer path, redemption, exchange support എന്നിവ വ്യത്യസ്തമാണ്.
Transfer മുമ്പ് asset identity record തയ്യാറാക്കുക:
- Full network name, Mainnet.
- Token symbol/variant.
- Full contract address.
- Issuer official document.
- Receiving platform സ്വീകരിക്കുന്ന version.
USDT contract Tether Supported Protocols page-ൽ നിന്നും USDC details Circle official docs-ൽ നിന്നും പരിശോധിക്കുക. Search ad, Telegram message, wallet logo എന്നിവ official proof അല്ല.
6. Address verification: ആദ്യവും അവസാനവും മാത്രം മതിയല്ല
Clipboard malware paste സമയത്ത് attacker address ഇടാം. Address poisoning transaction history-ൽ തുടക്കവും അവസാനവും സാമ്യമുള്ള ചെറിയ transfer ചേർത്ത് തെറ്റായ address copy ചെയ്യാൻ പ്രേരിപ്പിക്കും.
സുരക്ഷിത ക്രമം:
- Current receiving Deposit page-ൽ നിന്ന് address copy ചെയ്യുക.
- Sending page-ൽ paste ചെയ്ത ശേഷം beginning, middle, ending segments പരിശോധിക്കുക.
- Hardware wallet ഉപയോഗിച്ചാൽ device screen-ലെ final address ആണ് sign ചെയ്യുന്നതിന് മുൻപുള്ള അവസാന source.
- Unknown transaction history entry-യിൽ നിന്ന് address copy ചെയ്യരുത്.
- Address book label-ൽ platform, asset, network എന്നിവ എഴുതുക.
QR code typing കുറയ്ക്കും; network support തീരുമാനിക്കില്ല. Scan കഴിഞ്ഞ് decoded addressയും network labelഉം പരിശോധിക്കുക.
7. Memo/Tag: address ശരിയായാലും credit കിട്ടാതിരിക്കാം
Custodial exchange പല users-നും ഒരേ on-chain address നൽകാം. Memo അല്ലെങ്കിൽ Tag transaction ഏത് account-ലേക്ക് credit ചെയ്യണമെന്ന് തിരിച്ചറിയുന്നു. Building address ശരിയായിട്ടും room number ഇല്ലാത്ത അവസ്ഥയായി ഇതിനെ കരുതാം.
Receiving page Tag ആവശ്യപ്പെട്ടാൽ:
- Copy ചെയ്യുക; guess ചെയ്യരുത്.
- Final confirmation page-ൽ Tag കാണുന്നുണ്ടെന്ന് ഉറപ്പാക്കുക.
- Personal note field-നും on-chain Memo field-നും വ്യത്യാസമുണ്ടോ നോക്കുക.
- Missing Tag ആയ ആദ്യ transfer-ന് മറ്റൊരു transfer അയച്ച് Tag ചേർക്കാൻ കഴിയില്ല.
Missing Tag ഉണ്ടായാൽ TXID, network, amount, address, correct Tag, order ID എന്നിവ ശേഖരിച്ച് receiving platform official support-നെ സമീപിക്കുക. Recovery guarantee ഇല്ല.
8. Test transfer ശരിയായി നടത്തുക
Test amount വളരെ ചെറുതായാൽ minimum deposit-ന് താഴെയാകും. Minimum 10 USDT, fee 1 USDT ആണെങ്കിൽ 10 request ചെയ്തപ്പോൾ 9 മാത്രമേ എത്തൂ. Test automatic credit ആകാതിരിക്കാം.
ശരിയായ test amount:
- Sending minimum withdrawal-നെക്കാൾ കൂടുതലാകണം.
- Fee കുറച്ച ശേഷം receiving minimum-നെക്കാൾ കൂടുതലാകണം.
- നഷ്ടമായാലും സഹിക്കാവുന്ന തുകയാകണം.
- Final transfer-നൊപ്പം same asset variant, network, address, Tag ഉപയോഗിക്കണം.
Sending platform Completed എന്ന് കാണിക്കുന്നത് test success അല്ല. Correct explorer-ൽ expected Token Transfer കാണുകയും receiving balance credit ആകുകയും ചെയ്താൽ മാത്രമാണ് end-to-end success. Test കഴിഞ്ഞ് main transfer മുമ്പ് Deposit page വീണ്ടും തുറക്കുക.
9. Asset എത്തിയില്ലെങ്കിൽ TXID ഉപയോഗിച്ച് മൂന്ന് layer ആയി പരിശോധിക്കുക
Layer 1: TXID ഇല്ല
Withdrawal Processing, Review, Queued, security check എന്നിവയിൽ ആയേക്കാം. Order ID blockchain TXID അല്ല. Email confirmation, 2FA, maintenance notice പരിശോധിക്കുക; duplicate withdrawal സൃഷ്ടിക്കരുത്.
Layer 2: TXID ഉണ്ട്, Pending അല്ലെങ്കിൽ Failed
Sending network-ന്റെ explorer-ൽ Block, Status, Confirmations, To, Token Transfers, Amount, Contract പരിശോധിക്കുക.
- Pending: block inclusion, confirmations വർധിക്കുന്നുണ്ടോ നോക്കുക.
- Failed/Reverted: Token നീങ്ങിയോ, gas മാത്രം ചെലവായോ നോക്കുക.
- Replaced: same Nonce ഉള്ള replacement transaction കണ്ടെത്തുക.
Layer 3: Chain Success, exchange credit ഇല്ല
Success chain execution പൂർത്തിയായി എന്ന് മാത്രം പറയുന്നു. Exchange confirmations, minimum deposit, contract version, Memo/Tag, address mapping, maintenance എന്നിവ പരിശോധിച്ച ശേഷമാണ് internal balance update ചെയ്യുന്നത്.
Support ticket-ൽ explorer link, full network name, asset/contract, amount, time, address, order ID നൽകുക. Seed phrase, private key, OTP, remote access എന്നിവ support-ന് ആവശ്യമില്ല.
10. Wrong network recovery-യുടെ യഥാർത്ഥ പരിധി
Destination നിങ്ങളുടെ self-custody EVM wallet ആണെന്നും correct network same private key address ഉപയോഗിക്കുന്നുവെന്നും ഉറപ്പാണെങ്കിൽ wallet-ൽ network, token contract എന്നിവ ചേർത്താൽ asset കാണാൻ സാധിക്കാം. Transfer out ചെയ്യാൻ native gas വേണം. Unknown recovery tool-ലേക്ക് seed phrase import ചെയ്യരുത്.
Destination exchange address ആണെങ്കിൽ keys platform നിയന്ത്രിക്കുന്നു. Receiving platform-ന് മാത്രമേ manual recovery വിലയിരുത്താൻ കഴിയൂ. Chain, contract, wallet architecture support ഇല്ലെങ്കിൽ recovery അസാധ്യമായേക്കാം; feeയും processing timeഉം ഉണ്ടായേക്കാം.
സുരക്ഷിത sequence:
- വീണ്ടും അയക്കുന്നത് നിർത്തുക.
- TXIDയും order detailsഉം സംരക്ഷിക്കുക.
- Correct explorer-ൽ destination, contract, amount പരിശോധിക്കുക.
- Address self-custody, exchange, contract എന്നിവയിൽ ഏതാണ് എന്ന് തിരിച്ചറിയുക.
- Official support ticket മാത്രം ഉപയോഗിക്കുക.
Guaranteed recovery, advance payment, seed phrase, remote control ആവശ്യപ്പെടുന്ന private message secondary scam ആയി കാണുക.
11. ഒരു മിനിറ്റ് decision table
| കാണുന്ന status | അർത്ഥം | അടുത്ത നടപടി |
|---|---|---|
| Sending side-ൽ TXID ഇല്ല | On-chain transaction തെളിവില്ല | Review/maintenance പരിശോധിക്കുക; resend ചെയ്യരുത് |
| Explorer Pending | Chain confirmation പൂർത്തിയായിട്ടില്ല | Block, confirmation count നിരീക്ഷിക്കുക |
| Explorer Failed | Execution fail; gas ചെലവാകാം | Token balance, failure reason പരിശോധിക്കുക |
| Explorer Success, no credit | Receiving platform processing | Minimum, Tag, contract, confirmations പരിശോധിക്കുക |
| Same address, wrong network | Wrong-chain possibility | Key control വിലയിരുത്തി receiving support-നെ സമീപിക്കുക |
12. അവസാനമായി പാലിക്കേണ്ട പ്രവർത്തനശൈലി
“ഏത് chain ഏറ്റവും cheap?” എന്ന സ്ഥിരം ഉത്തരം പഠിക്കുന്നത് സുരക്ഷയല്ല. ഓരോ transfer-നും receiving page പുതുതായി തുറന്ന് same sequence പിന്തുടരുകയാണ് ശരിയായ ശീലം: support പരിശോധിക്കുക, asset/contract തിരിച്ചറിയുക, receiver gets കണക്കാക്കുക, address/Tag പരിശോധിക്കുക, ശേഷം മാത്രം send ചെയ്യുക.
ഒരു field പോലും ഉറപ്പില്ലെങ്കിൽ നിർത്തുക. Blockchain transaction irreversible ആയതിനാൽ കുറച്ച് മിനിറ്റ് കൂടി പരിശോധിക്കുന്നത് wrong transfer-നെക്കാൾ എപ്പോഴും കുറഞ്ഞ ചെലവാണ്.
ഔദ്യോഗിക ഉറവിടങ്ങളും പരിശോധനാ തീയതിയും
താഴെയുള്ള official sources 2026-08-02-ന് പരിശോധിച്ചു. Supported network, fee, minimum, recovery policy എന്നിവ transaction സമയത്ത് വീണ്ടും പരിശോധിക്കുക.
- Binance Academy: Deposit/Withdrawal Guide
- Tether: Supported Protocols
- Circle: Supported Chains and Currencies
- Ethereum: Gas and Fees
- TRON: Resource Model
- Coinbase: Send and Receive Troubleshooting
Binance referral disclosure
Binance ഉപയോഗിക്കാൻ നിങ്ങൾ സ്വതന്ത്രമായി തീരുമാനിക്കുന്നുവെങ്കിൽ invitation code BN8812 നിങ്ങളുടെ പ്രദേശത്ത് ലഭ്യമാണോ എന്ന് registration/activity page-ൽ പരിശോധിക്കാം. Site-ന് referral benefit ലഭിച്ചേക്കാം; eligibility, reward, fee discount എന്നിവ Binance-ന്റെ current terms അനുസരിച്ചായിരിക്കും. ഈ code safety guarantee അല്ല, investment adviceയും അല്ല.